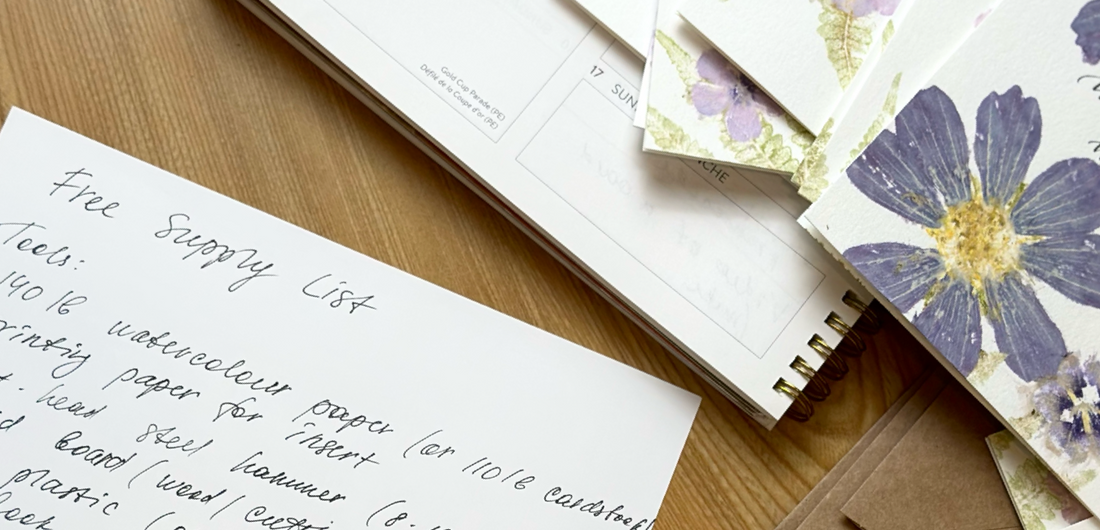
Free Supply List
Share
Here’s a compact FREE Supply List (Perfect for first-time flower hammerers!) to make a simple botanical card.
TOOLS
- 140 lb watercolor paper (or 110 lb cardstock)
- printing paper for the insert
- Flat-head steel hammer (8–10 oz)
- Solid board (wood/cutting board) + optional towel underneath (quieter)
- Clear plastic/acetate ~6×8" (or plain printer paper as a cover)
- Big book for drying/flattening, glue stick, gel pen
- Practice sheet (watercolor paper)
BOTANICALS (best starters)
- Flowers: pansy/viola, coreopsis, impatiens, petunia (deep colors), osteospermum, chrysanthemum (simple shape), lobelia, calibrachoa
- Leaves: fern (oak fern), coleus, blackberry, ivy, clover, conifers, rose
Use fresh (not wilted) botanicals. Avoid very waxy/leathery leaves.
QUICK STEPS
- Test first on the practice sheet; find the right force.
- Arrange botanicals on the paper. Flowers face down. Leaves back side down (face up).
- Cover with plastic (or printing paper); hold steady.
- Hammer: gentle taps for petals; firm hits for leaves on a solid surface.
- Peel off bits right after hammering; dry 1–2 days between book pages. Add pen details if you like, then fold the card and glue in the insert.
TROUBLESHOOT
- Weak print? Use fresher plants, flip the leaf, hit harder, or firm up your surface.
CARE
- Keep finished cards away from direct sunlight/humidity; natural pigments age softly over time.


